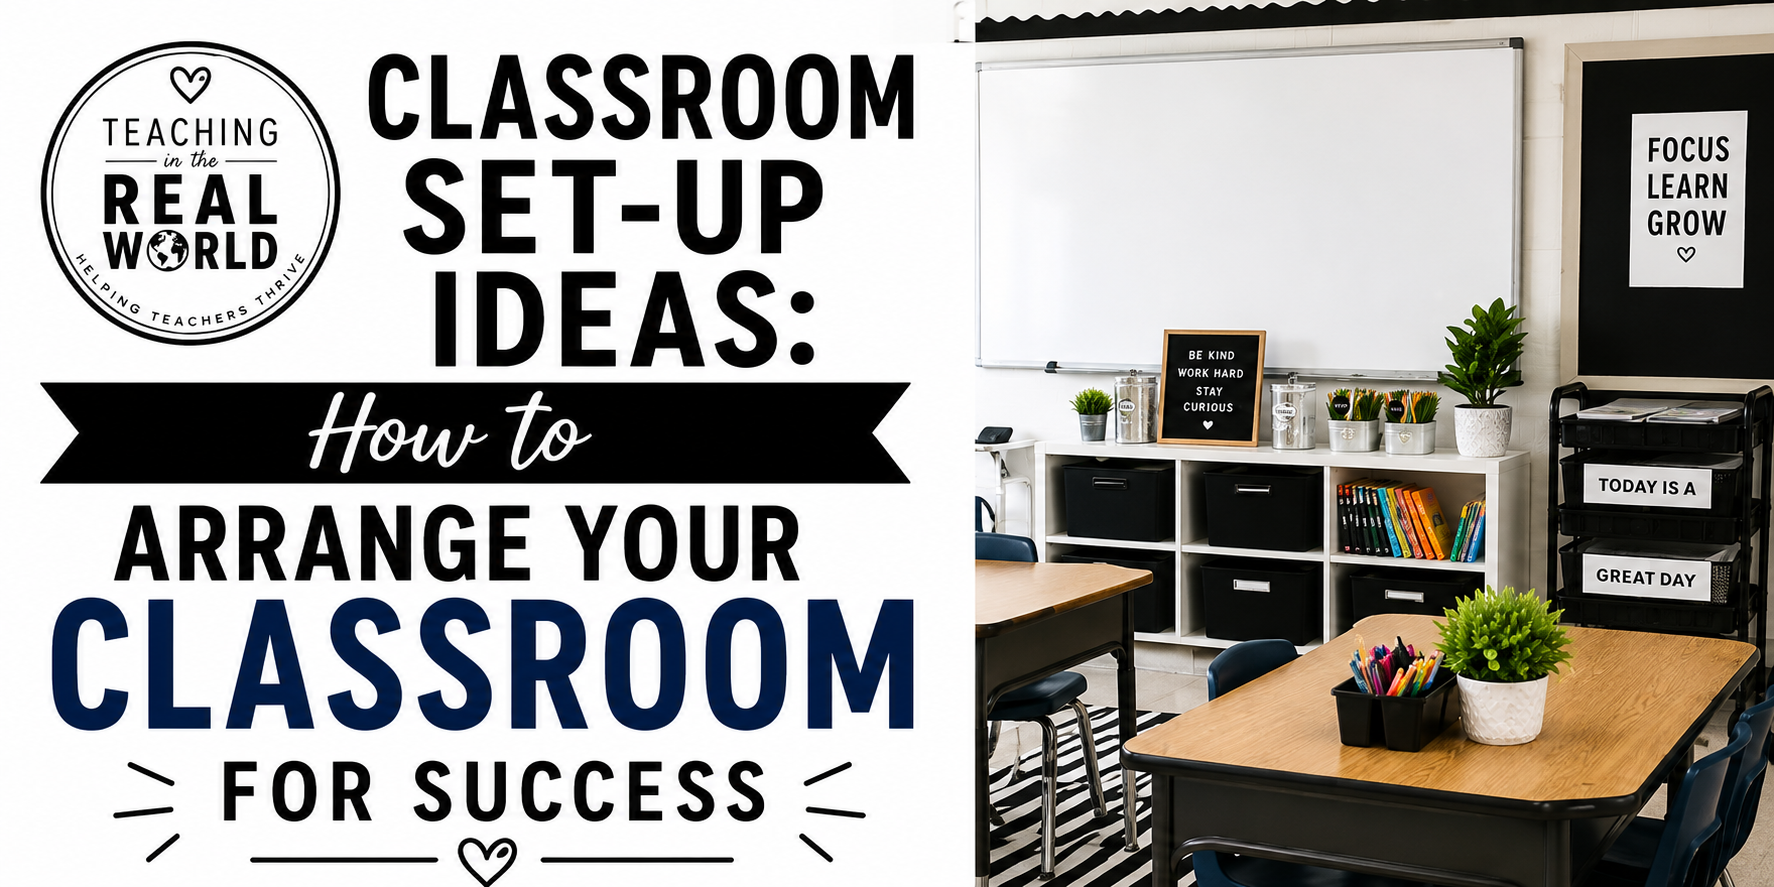
Classroom Set Up Ideas: How to Arrange Your Classroom for Success
Classroom Furniture Layout
Your classroom is like a second home to both you and your students; so much time is spent within those four walls! The way you set up the furniture and organizational systems in your classroom matters and can have a huge impact on day-to-day operations in the upper elementary and middle school classroom. Classroom organization, classroom layout and classroom furniture layout can really change the vibe and flow of your day. So, let me help you “Teacher Feng Shui” your classroom using strategies that have worked for over a decade. Whether you are looking for a reset, or working on your back to school classroom setup, this is a system that works! The best place to learn is an environment that has space and where movement is possible–let’s do this!
Take Inventory
Classroom Setup: Start with Your Whiteboard and Technology
The majority of classrooms have a similar footprint: a rectangular box with a small window, not enough storage, and definitely not enough square footage. When considering your classroom layout, it is vital to assess the two things you will likely use the most and create your floor plan from there.
So before you start rearranging desks, ask yourself…
- Where is the “main” whiteboard/chalkboard?
- Where does the technology hook up? (document camera, smart board, etc.)
These two things typically dictate where the front of the room is and where you will spend a lot of time presenting information to the class. Once you establish the front of the classroom, you are ready to start planning all of the other components of your classroom. But before you start moving furniture…consider what you can let go of or don’t need.
Classroom Organization: Declutter Before You Decorate
Most of the classrooms I have moved into are cluttered with years of hand-me-downs, furniture no one else wanted, or antiquated technology. So before you begin to plan your pristine and highly functioning layout, consider if you need to eliminate any furniture, tech, books, or anything else that might be clogging up your space.
Here are some questions to get you started:
- Do you have pieces of furniture that just don’t fit? Get rid of them!
- Broken shelves, desks, chairs, or any type of broken item? Buh-bye!
- Broken technology or antiquated tech that no one uses? Call the I.T. Department!
- Old curriculum: books taking up valuable shelf space that aren’t used anymore? Send them back to the district office or to the recycling bin!
Space in your classroom is a hot commodity; don’t fill it with things that you don’t use or aren’t useful within your classroom. If you have a difficult time letting go, I completely get it! Check out my blog post for a little help; you’ve got this.

Coveted Classroom Zones
Two main zones are the most important in your classroom: the front of the room and near the door. These areas are the most used and the most looked at, so it is crucial to choose what goes into these zones very carefully!
Front of the Room
I define the front of the classroom as the area that has the whiteboard and technology that is used to present lessons to the students. So, wherever your document camera lives, where your projector projects, or where your smart board is located, is what I consider the front of the classroom. This is the general direction that your student desks are facing, and this is an area where you don’t want to have items that students need to access on a regular basis.
Keep the “front of the room” clean and clutter-free. This is NOT the place to keep supplies or manipulatives. You do not want students to have to come to the front of the room to sharpen their pencils or grab a tissue.
Here is what I keep at the front of the classroom:
- Copies for the week (I use a file stand and have my copies in order, ready for the week).
- Personal whiteboards (a learning tool that is used almost every day)
- “Master” interactive student notebooks and student agenda (easy to access and display on the document camera).
- Lesson Plan Book (I check things off as I go).
As you can see, the items placed at the front of the room are very purposeful and are specifically related to learning or the lesson that I am teaching. Honestly, my document camera sits on an extra student desk right beneath the whiteboard, and I have a small shelf to house the copies, spiral notebook, and agenda/planner. I do have a podium, and that is where I keep my lesson plan book. Other than that, everything else is in a different location in the classroom; I want the front of the room to be clean and focused on the learning at hand.
How to Arrange Classroom Furniture for Better Flow
As an upper elementary or middle school teacher, you know that students are switching classes regularly or popping back into class to grab something often, so what you place by the door matters! I place my turn-in trays and Extra Papers Bin by the door. This placement makes it super easy for students to drop their exit tickets into the turn-in tray as they’re leaving, or pop into class to grab missing assignments from the Extra Papers Bin. I simply use a couple of extra student desks to place these items on, and I am set! If you utilize a bathroom sign-out sheet, this is also a great place to put it, and it creates the least amount of distraction possible. Keeping these by the door keeps the disruptions to a minimum and accessibility to a maximum!
I also keep my small group table as close to the door as possible. That way, when I am conducting a small group, I can still monitor who is coming and going from the classroom. Being near the door during small group also helps if another teacher or administrator is looking for me or if there is a fire drill. This was the place I found worked the best when holding small groups.
Back of the Classroom
The back of the classroom is where all the other things go! I prefer to put things in the back because it cuts down on disruptions, and students don’t have to walk in front of me when I am teaching or presenting information. This is where the bulk of my shelving and storage live, and it really seems to work.
The supplies that I don’t use regularly, manipulatives and games are stored out of sight in some cupboards on the side of the room. I don’t leave everything sitting out in an attempt to limit the visual clutter. I find that it really helps to keep the room looking clean and it cuts down on distractions.
The Best Classroom Layout for Student Learning
Keeping students supplies in the back of the classroom allows my upper elementary and middle school students the opportunity to get up and get what they need. For these older students, I give them the autonomy to get up and grab a tissue, sharpen their pencil, or get supplies as needed. Now, of course we discuss when it is appropriate and what expectations are, but in the end I give them that freedom and it saves me a lot of time and unwanted interruptions.
Here is what I keep at the back of the classroom:
- Trash cans
- Pencil sharpeners (hand held and electric)
- Tissues
- Paper
- Highlighters, pencils, pens
- Scissors
- Tape and glue (for ISNs)
I also keep all technology in the back of the classroom as well. So any tablets, laptops, or computers charge and/or are stored in the back of the room. Honestly, I try to go as low tech as possible most of the time, so out of sight, out of mind!
Classroom Zones Every Teacher Should Create
The back of the classroom is the perfect place to keep your teacher desk as well! First, you rarely sit there during class time, so tucking it away in the back of the room makes sense. Second, you don’t want your desk to be a “drop zone” for papers, books, or anything else that might be inadvertently placed on your desk. Creating a teacher reset zone is the goal, so carve out a little corner for yourself as far away from everything else in the room as possible.

You spend so many of your waking hours each day in your classroom, so make it feel right! The flow and set up of your classroom will affect you in so many ways. Your classroom layout can affect behavior management, how you present your lessons, and student productivity. Hopefully these simple changes can help you to create an amazing learning environment.