Lesson Planning: A Simple Lesson Plan Template That Works!
If lesson planning is something you dread, takes too much time, or is simply new to you…you are in the right place! As a veteran teacher, I have developed a lesson plan structure that works every single day. This lesson plan structure takes the guesswork out of teacher lesson planning, which in turn alleviates the stress and anxiety you might feel leading up to or during lesson planning. Let me walk you through the steps that have saved me stress and time for years and years.
Before we jump into the daily lesson plan format I follow every single day, you might be wondering: Don’t you get bored following the same lesson plan format? Don’t the students get bored with following this structure every day? I assure you, there is no boredom here! Although we follow the same easy lesson plan format, the topic, activities, and assessments are different. In fact, having the same lesson plan structure every single day makes everyone’s lives easier. Check out my free printable PDF in my Teacher Resources; you can cut and clip the lesson plan order in your plan book, this teacher lesson plan template will make simplify your planning.
Why You Should Use the Same Lesson Plan Structure Every Day
- Lesson planning will be quick and easy; you always know where you are going and what types of activities you need from day to day.
- The structure of your lesson becomes a habit, helping you stay on track and avoid veering away from your lesson objective.
- Students know exactly what their “job” is every single day; there is no guessing, their role and what is expected of them is clearly defined.
- Because students know their role and what to do every day, there are fewer behavior disruptions, and fewer students are off task.
- When you don’t have to stress about lesson planning and where the lesson is going, you have time to create new ways for students to practice, hands-on activities, and so much more.
.png/:/rs=w:1280)
Familiarity and routine are a great way to build trust with students, create focus, and best of all, make life easier!
Lesson Plan Layout
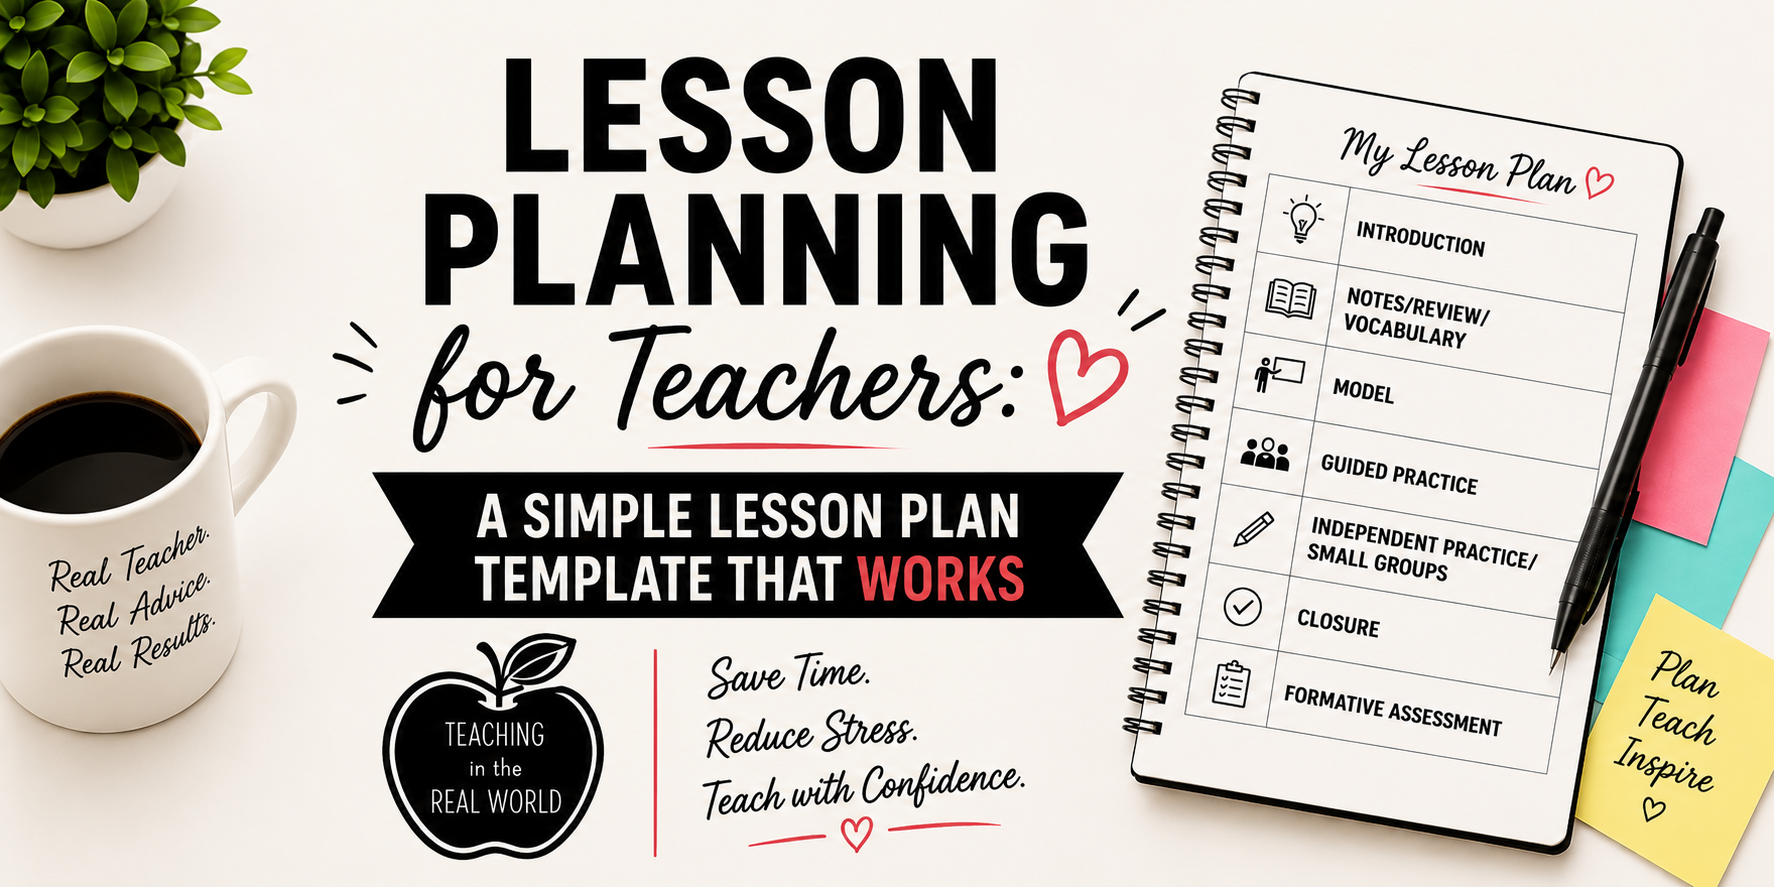
- Introduction (2 min)
- Notes/Review/Vocabulary (5-10 min)
- Model (10-12 min)
- Guided Practice (10-12 min)
- Independent Practice/Small Groups (10-12 min)
- Closure (5-7 min)
- Formative Assessment (5 min)
Introduction

The introduction to the lesson is important, and helps to set the tone and expectation for the next 60, 75, or 90 minutes. If you are a fossil like me, it may have been taught to you as the anticipatory set, and although you want students to get excited and build that anticipation, this introduction is intended to inform your class of learning expectations and why they need to learn the lesson being presented.
Lesson Objective
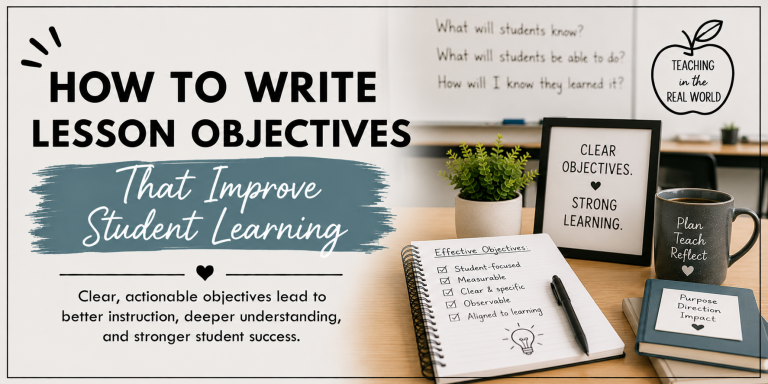
As is expected in the majority of classrooms, your daily lesson objective is likely written on your board and hopefully updated each day, and the first thing that you will need to do is share that with your students. Read the lesson objective to your students, keep the academic language, but explain to them what that means. Use terminology that is familiar to them, but expose them to the language of your objective that might not be as familiar. It is important to be clear with the class and let them know what their end game is, what their goal for this lesson is, and that is to master the lesson objective.
Real World Connection
Once the student’s objective is clear, it is always a good idea to let the class know why it is important to meet this objective. With upper elementary and middle school students, sharing the “why” and making a real-world connection can make all the difference. If the students know what you want them to do during that period of time, and why it benefits them, there is no stopping their academic progress.
Notes/Review/Vocabulary
Now that the students know what they need to master and why it is important, it is time to ensure that they have all of the necessary background knowledge, prior knowledge, vocabulary, and steps needed. This is where the Interactive Student Notebook comes into play; if you need a little support with this, check out my blog post. Remember, you want to assume that your students know nothing! Bust out the anchor charts, graphs, foldables, and any other items that might be an amazing reference while students are mastering this new skill and lesson objective.
Model, Model, Model
The time has come for you to show students how to use the references you have given them, and model the skill or lesson objective that you want them to master by the end of the class. In the younger grades, this might be referred to as an “I do,” but with your older students, modeling is the best description. During this point in the lesson, you must say aloud all of the things you are thinking as you are completing a task, problem, or reading through a passage. Show the students the steps you are taking, talk through the questions you are asking yourself, and think aloud. The students are to simply listen and observe during this time. Once you finish modeling the first part, or the first problem, take a couple of questions, but be careful not to let these questions derail the modeling; you must stay the course. Continue to talk through your thinking and solve or complete problems until you feel as though the class is able to follow along, and then it is time for the students to give it a go!
.png/:/rs=w:1280)
Guided Practice
Guided practice is a time for students to give the skills that they have written notes about, and have watched you model, a try. Guided practice means just that: students will practice the skill that they are working to master with the guidance of the teacher.
Guided Practice Activities:
- Personal Whiteboards
- Worksheet (one for each student and one projected on the board)
- Hands-on Activity
- Math Manipulatives
- Reading Passage Annotations
My preferred method of guided practice for any subject is to utilize personal whiteboards. I present items on the board or document camera, and students complete these items on their personal whiteboards. There are a few reasons I love using personal whiteboards, and you can check out my video on my YouTube channel, but the main reason I love using them is that it is easy! Guided practice is also a great time to utilize cooperative learning strategies; once students have practiced the skill on their own, having to explain to a partner is a great way to solidify what they have learned. Do whatever works for your students, just be sure to circle the room constantly, offer lots of support, continue to model throughout the guided practice, and answer as many questions as possible.
Independent Practice/Small Group
While students were conducting their Guided Practice, you were using your teacher spidey sense to observe and jot down the names of students who need extra support and intervention. You will have students who appear to be grasping the concept presented, complete some independent practice, and the students who could use additional guidance will be pulled for a small group. Yes! Small groups are possible in upper grades! I have done it for years. Please check out my realistic approach to small groups in upper grades; it works!
Closure
Once you have wrapped up your small group, it is time to bring the class back together. This is the time to bring your lesson full circle and provide closure for the class. This is often skipped due to time constraints, or the idea that the closure of a lesson doesn’t matter–but I urge you to take five minutes and close out your lesson, it makes a difference. The goal of your closure is to briefly go over the independent practice activity; choose a couple of key problems from the activity to review, and have students make corrections on their own paper. There will not be time to go over every question, and that is okay, just choose the questions that have the biggest impact. This is also a time for you to follow up with students who were conducting independent practice and see if they have any questions. Finally, you will want to restate your lesson objective, and talk with the class in regard to if they think they have mastered the skill. In the end, the closure is really a tool to help your students to begin to self-assess their learning and whether they have mastered something and are ready to move on, or need to seek further clarification.
Formative Assessment
The lesson has been closed out, and now it is time to assess your students! Formative assessments should be given after every lesson; it is a great checkpoint. These assessments should only be three to five questions long. You don’t need to have a fancy printout of the assessment. I typically use a half sheet of paper. I simply write out the questions and place them under the document camera; newer curricula typically include an exit ticket, which can also be used as your formative assessment. Whatever type of exit ticket or formative assessment works for you is totally fine. Just be sure to grade it that day (I typically grade them as my next class is getting set up or transitioning to another subject) so you can follow up with students who need extra support the next day.
Keep your lesson planning simple, and adopt this format! When you take the guesswork out of lesson planning, you are able to focus on meeting your students’ academic needs and offering quality instruction to them. Don’t forget to check out my YouTube channel and my Free Teacher Resources. Happy Teaching!