Interactive Student Notebooks: 5 Simple Hacks That Actually Work
ISNs, interactive student notebooks, spiral notebooks, notes…whatever you want to call them, in this day and age, creating this reference for students is a must! With the majority of the curriculum being digital, and most districts rarely purchasing student workbooks or support materials, having a tangible resource can make a huge difference in students’ learning and retention of knowledge. This amazing note-taking strategy is also great for teacher organization and classroom organization
I am sure that many teachers are hoping that this fad, or trend, will blow over. That they can weather the storm, do the bare minimum, and eventually forget about these notebooks. While other educators have great intentions and want students to create these learning materials, they over complicate the process or don’t have a defined process, which hinders them. The notebooks are left unfinished at the bottom of a desk or backpack.
I have been in both of these situations. I resisted interactive student notebooks, and only did them once it was a requirement. Then, once I did jump on the spiral bandwagon, my system was intricate and complicated; I had made the fatal error of not refining the process to fit my personality and my classroom. The notebooks were quickly abandoned and incomplete. It wasn’t until the district took away my textbooks and turned to a completely digital curriculum that I circled back to ISNs. This time I was going to do it my way: simple, efficient, and accessible. I am so glad I did, because my students loved them, they used them, and they even saved these notebooks. In fact, teachers from the next grade up thanked me because the students were using these interactive notebooks as reference materials in their class. So, how did I make it work and stick with the ISNs? Just five simple steps for interactive student notebook setup that can be accomplished in a real-world classroom.

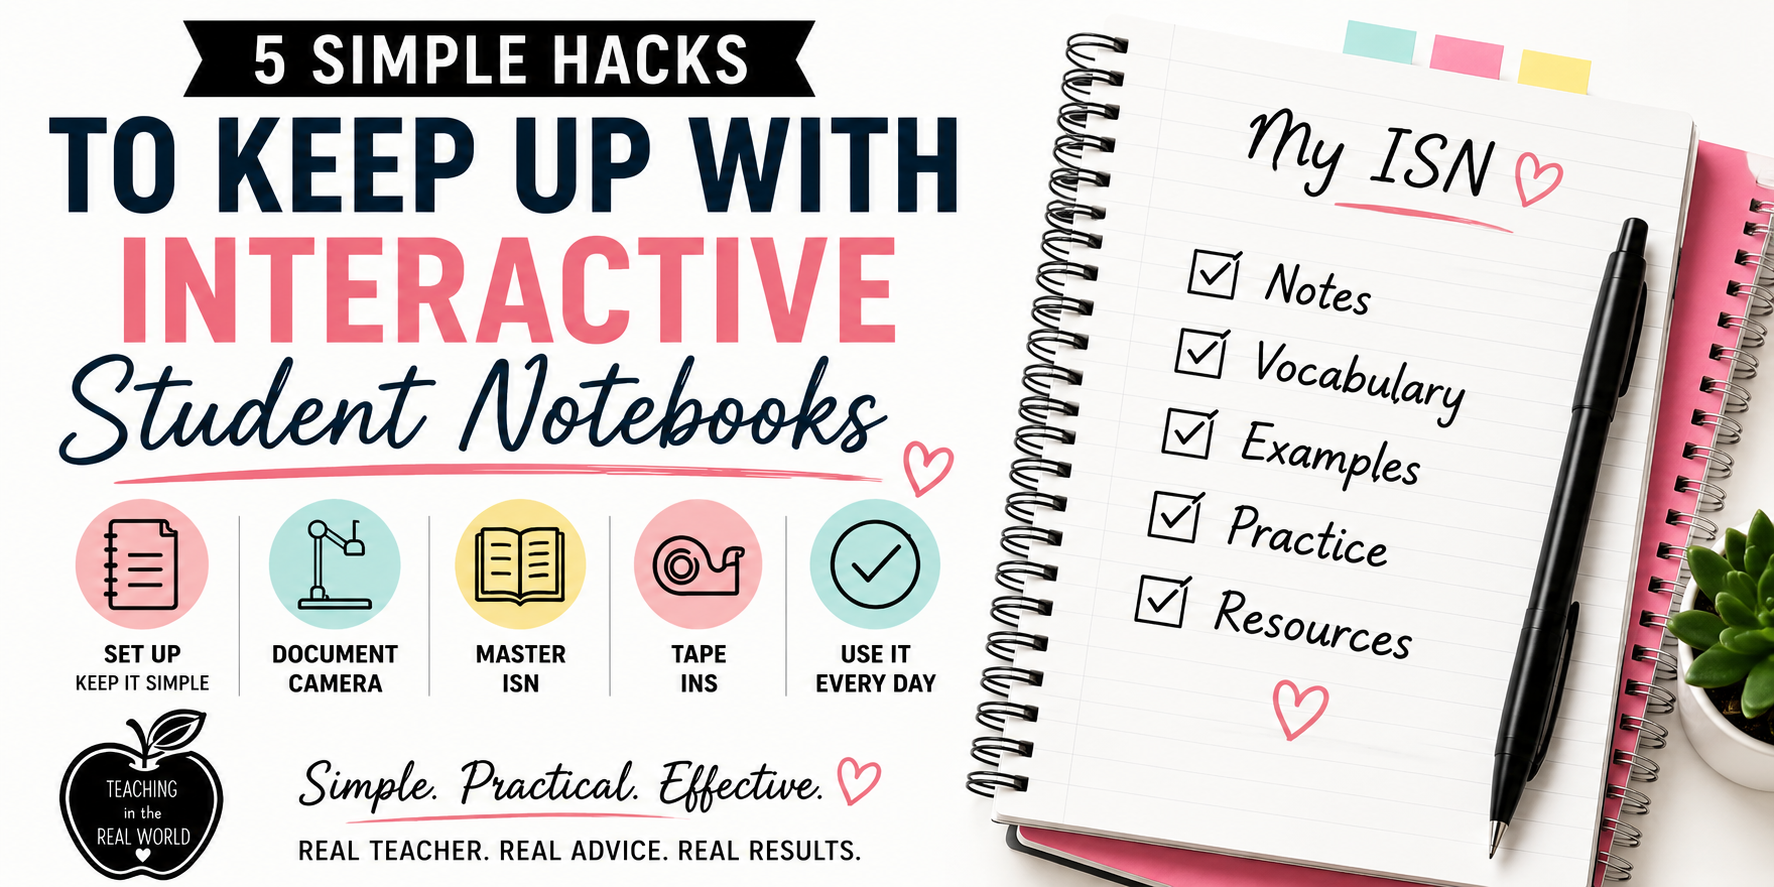
5 Hacks to Keep Up With Interactive Student Notebooks
- Set Up (keep it simple and check out my Teacher Resources)
- Document Camera
- “Master” ISN
- “Tape Ins”
- Use it EVERY DAY
If you can follow these five hacks, then keeping up with interactive student notebooks will be simple. It won’t feel like a chore, and it will be an asset that will help your students to become better learners this year and beyond.
SET UP
Setting up the notebook should be simple, and this is where I initially went wrong and caused everything to go off the rails. So, here is a little advice on what NOT to do:
- DO NOT create a Table of Contents.
- DO NOT number the pages.
- DO NOT create a glossary.
- DO NOT have students only write on one side of the page.
-bfbb03c.png/:/cr=t:0%25,l:0%25,w:100%25,h:100%25/rs=w:1280)
Now that we have all of the “no-nos” out of the way, let’s dive into what you should do to set up this simple and effective resource.
1. Have students write their First and last names, Class/Subject, and Year on the front of the notebook.
2. Have students skip the first two pages in the spiral notebook. These pages can be labeled: Doodle Page, or left blank (it is up to the student).
3. Tape or paste the ISN Guidelines on page three (see my Teacher Resources for a free printable PDF).
Once the notebooks are set up, you are ready to start writing, pasting, taping, and using each and every page. The guidelines that I establish for students are super simple and are available in my Teacher Resources. Students should never skip or tear out pages, and should always close their notebook before putting it away. Other than that, the rest is up to you!
If the class is clear on notebook expectations and the guidelines are followed daily, then upkeep will be simple, and this resource will not be forgotten.
Document Camera and “Master” ISN
My document camera is hands down the most used technology in my classroom. I have it projected onto the whiteboard and use it as a makeshift “SmartBoard.” The best thing about the document camera is that I don’t have to create slides or graphics; no extra prep needed. I simply place whatever resource, worksheet, or ISN entry up on the document camera, and students are ready to follow along, record, fill in the blank, or follow my visual model. A document camera is something that can change everything, and if you don’t have one, I highly recommend finding a way to get one.
Once you have your doc cam set up, you are ready to share your “Master” ISN. What do I mean by this? Well, you will need to create a notebook for every class or subject that you teach. This notebook is your model; it is what the students see, copy, if they are absent, check, and use to update their own ISN.
I have found the easiest way to keep up on my “Master” interactive student notebooks is to prep them in advance. This means that the day before, I prepare the “Master” ISN for tomorrow’s lesson. You might be wondering why I don’t just complete my ISN along with the students…well if I were to complete my ISN in real time I would be tethered to the front of the room, there is a good chance something would happen and I would be distracted or forget to include something in my notes, and I wouldn’t have an easy accommodation ready for the students that need it. Prepping your ISN in advance will go pretty quickly, and can just be worked into your lesson prep time during your schedule each day. Running out of time after school each day? Check out my blog post about how to manage your time and get out of your classroom ASAP, while still being prepped for the next day.
Here are some examples of the things I prepare and why:
- All notes, vocabulary, and definitions are written in advance (I do leave blank spots to fill in along the way).
- Writing this out in advance ensures I don’t forget or miss anything.
- Easy Student Accommodation: I can copy my handwritten notes with some blank spots and distribute them to students to tape into their own ISN (if needed).
- If you teach multiple classes of the same subject, you can copy and paste those notes into your “Master” for each class.
- All items that need to be taped or glued are already in the notebook and ready to go.
- This frees up time to help any students who might need extra support with taping or gluing items.
- Students see how and where I adhere items to the page.
- All graphics, drawings, and charts are written in advance.
- Students can copy these while the teacher is meeting with other students or immediately upon entering the classroom.
- There is no confusion as to how much space to take up on the page; students can easily see the space needed for the notes.
Having your ISN ready in advance will save you time! You can always prepare ahead of time for a few days or even the entire week. If you keep up with your master copy, it will also help you to track how far you got within a lesson, or keep track of any classes that are falling behind or working more quickly. One less thing to worry about!
Tape-Ins/Glue
Another way to keep your notebooks updated and used is to tape or glue items onto the pages. The benefits of doing this is that these things cannot get lost! But, most teachers do have a hard time wrapping their minds around this concept, and oftentimes they go above and beyond in creating intricate tape-ins that take a lot of prep work and time that none of us have. You don’t have to do this!
Keep the items that you glue into the ISN simple. If I have a graphic, steps to solve a problem, a diagram, or even a worksheet, I copy it, and then use the huge paper cutter in the copy room to cut down the margins as much as possible. That way, it fits on the page, no problem. You don’t need to reinvent the wheel! If your digital curriculum comes with items that you can print, that will be a great reference for students. Print it, cut the margins, and tape it in.
If you want to use foldables, that is great too. This is an easy way to get lots of information onto a single page. However, if you go down the rabbit hole of foldables, you can get into some pretty complicated stuff! I tend to stick to two: a layered book foldable and a tab foldable. Check out my YouTube Channel: Teaching in the Real World for more support. I don’t ever use anything crazy to make my foldables, essentially a blank sheet of paper and some scissors. The students cut their own, and then paste them in and fill them out. In the end, choose the foldable that works for you and your students, and if foldables aren’t your thing, don’t use them!
Use ISNs Every Day
-83d6d41.png/:/cr=t:0%25,l:0%25,w:100%25,h:100%25/rs=w:1280)
The best way to avoid your students’ ISNs being lost in the backpack abyss, or at the bottom of a desk or bin, is to use them! Every day when my students enter the classroom, they have a to-do list on the board. One item that is always on their list is to get out their ISN and have it on their desk. Now, that does not mean that we are going to add to the ISN every day, but we will use it every day. If students are unsure of what a term or word means…check your ISN. If students are working through something in their groups and are unsure of next steps…check your ISN. The ISN should be the first resort in regard to finding information about what we are learning in class. When you first start utilizing notebooks, you will need to remind students of this; you will need to prompt them to check their notebooks for answers, guidance, and procedures. But once you get through a couple of weeks, they will begin to do this on their own. They will take pride in their notes, in their knowledge, and they will gain independence in their learning. Sounds like a win-win to me.
Interactive student notebooks are an amazing tool for the classroom. First, it teaches your students how to accumulate information, organize their learning, and use their notes as reference material. These skills are ones that they will use for the rest of their academic career. Aside from giving your students academic independence, this spiral notebook will also provide them with the accommodations they need, the visual explanation, the tangible learning experience, and the security of having knowledge literally at their fingertips. Still not convinced? Check out my Teacher Resources for free printable PDFs to help get your ISNs started. You can also check out my YouTube Videos that walk you through how I implement interactive student notebooks in a real-world classroom.